





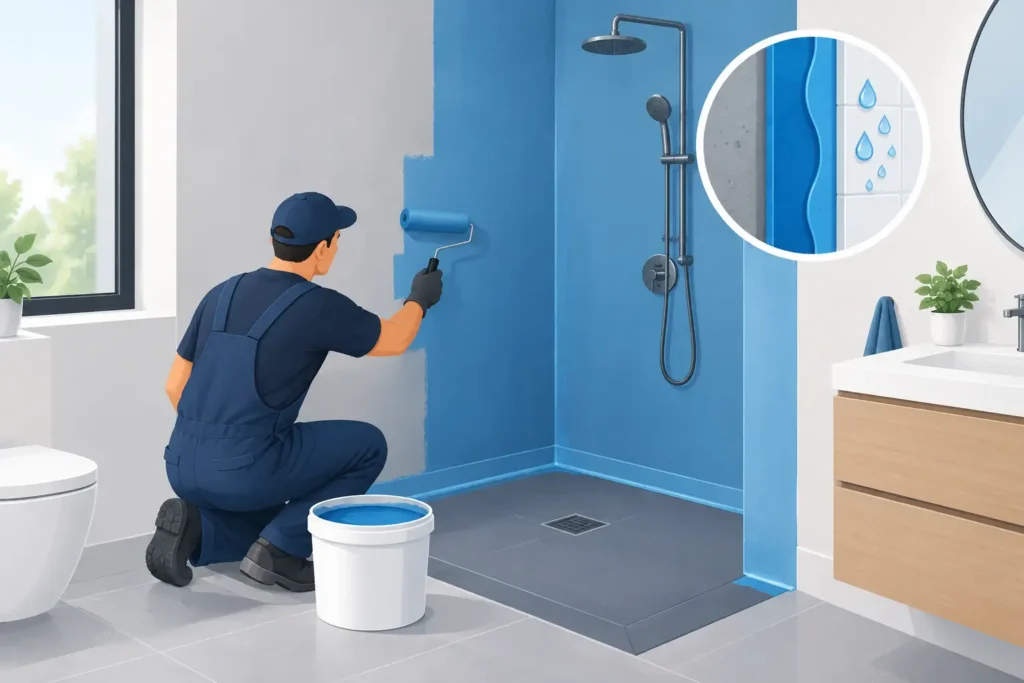
A bathroom leak rarely announces itself at the source. It may first appear as peeling paint in the next room, swollen cabinetry, a ceiling stain below, or persistent musty odor. Knowing how to waterproof bathroom walls correctly prevents these expensive hidden failures before tile, paint, and fixtures conceal the work. The job is not simply applying a coating to a wall. It is a system of substrate preparation, compatible materials, sealed transitions, and careful testing.
For homeowners, landlords, and facility managers, proper waterproofing protects finishes and the building structure behind them. It also reduces disruption later, when a failed shower wall may require demolition, drying, tile replacement, and repair to adjacent areas.
Start by defining the wet area
Not every bathroom wall requires the same waterproofing method. A wall inside a shower enclosure, behind a bathtub with a showerhead, or around a wet-room floor is a high-exposure area. These surfaces should receive a continuous waterproof membrane beneath the finish. A wall near a vanity or a toilet may only need moisture-resistant paint or localized protection, depending on splash exposure and the existing construction.
The most common mistake is treating grout, tile, or silicone caulk as the waterproof layer. Tile is a finish material, and grout is porous to varying degrees. Both can slow water penetration, but neither should be relied on to keep water out of the wall assembly. The waterproof barrier belongs behind the tile or other finish, directly on a properly prepared substrate.
Before selecting materials, inspect the wall for active leaks, hollow tiles, loose plaster, cracks, failing grout, and signs of dampness. Waterproofing over a wet or unstable surface traps the problem rather than solving it. If water is entering from a plumbing line, roof, exterior wall, or floor leak, identify and repair that source first.
Choose a waterproofing system that matches the wall
The right system depends on the substrate, finish, and level of water exposure. Cement board, cement plaster, concrete block, and masonry are generally suitable bases for tiled wet areas when they are sound, clean, and flat. Standard drywall should not be used in a shower or other continuously wet wall location. Moisture-resistant drywall may be acceptable outside direct splash zones, but it is not a substitute for a waterproof backer board and membrane.
For most bathroom renovations, one of these approaches is suitable:
- Liquid-applied waterproofing membrane, rolled, brushed, or troweled onto the wall in multiple coats.
- Sheet membrane, bonded to the wall with the manufacturer-approved adhesive or thin-set mortar.
- Cementitious waterproof coating, commonly used on stable masonry and cement-based surfaces.
- Prefabricated waterproof wall panels or backer systems designed for tiled shower installations.
Liquid membranes are practical around niches, pipe penetrations, corners, and irregular wall shapes. They need disciplined application because thin spots can fail. Sheet membranes provide a consistent thickness and are highly reliable when seams are correctly overlapped and sealed. Cementitious coatings can perform well on masonry, although they must be compatible with the tile adhesive and expected movement in the wall.
Do not combine products from unrelated systems without confirming compatibility. A membrane, sealant, reinforcing tape, tile adhesive, grout, and backer board should work together as a tested assembly. This matters particularly in commercial bathrooms and rental properties, where repeated use quickly exposes weak detailing.
Prepare the substrate before waterproofing bathroom walls
A membrane cannot compensate for poor surface preparation. Remove old loose paint, soap residue, dust, deteriorated plaster, adhesive, and friable material. The wall must be structurally sound, dry, and sufficiently flat for the final finish. Repair cracks according to their cause. A minor non-moving surface crack can often be treated within the waterproofing system, while a crack caused by settlement, movement, or a plumbing issue needs further investigation.
Check corners and wall-to-floor connections closely. These are movement points, not minor details. Where a shower wall meets the shower tray, bathtub, or floor screed, create a clean and stable transition before membrane installation. If the wall is out of plumb or heavily uneven, correct it with an appropriate cement-based leveling material rather than trying to build up waterproofing product in thick layers.
Allow repairs and leveling compounds to cure fully. Applying a membrane over uncured material can lead to bond failure, blistering, or trapped moisture. In humid locations, including bathrooms that receive limited ventilation, drying time may be longer than expected. Follow the product data sheet, not just the calendar.
Apply the membrane as one continuous barrier
Once the surface is ready, prime it if the selected system requires a primer. Priming controls suction on porous surfaces and helps the membrane bond evenly. Skipping this step can create inconsistent coverage, especially on old cement plaster or highly absorbent masonry.
At internal corners, wall-to-floor joints, board joints, cracks, and changes of material, embed reinforcing tape or preformed waterproofing corners into the first coat or adhesive layer. This reinforcement allows the system to handle minor movement while maintaining continuity. It should also be installed around built-in shower niches, benches, and recessed shelves, which are frequent leak points when rushed.
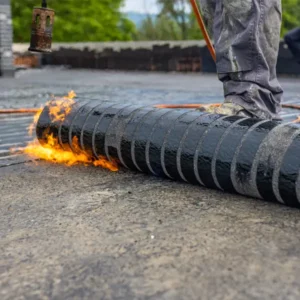
For a liquid membrane, apply the first coat evenly with the recommended roller, brush, or trowel. Work the material into corners and around fittings rather than merely coating the open wall field. Let it dry as specified, then apply a second coat in the opposite direction. Cross-rolling makes missed areas and uneven coverage easier to identify.
The finished membrane must meet the manufacturer’s required dry-film thickness. Too little material is one of the most common installation failures. A wall may look fully coated yet remain below the thickness needed to resist water pressure and repeated saturation. Use a wet-film gauge when required, and never dilute a membrane unless the manufacturer specifically permits it.
With sheet systems, use the specified overlap at seams and seal every joint, corner, and termination according to the system instructions. Press the membrane firmly to remove air pockets. A wrinkle, void, or open seam behind a shower tile can become a direct water pathway.
Seal penetrations, fixtures, and edges
Pipes, mixer valves, shower arms, body jets, grab bars, and accessory anchors all interrupt the waterproof layer. Each penetration needs a compatible sealing collar, gasket, or carefully detailed membrane patch. Filling the visible opening with silicone after tile installation is not enough. Silicone is a finishing seal, not the primary waterproofing measure behind the wall.
Pay the same attention to the lower edge of the wall. In a shower, the wall membrane should connect properly to the shower pan, bathtub flange, or floor waterproofing system. Water follows gravity, so a poorly connected bottom edge can undermine otherwise good wall work.
If the bathroom includes a curbless shower or wet-room layout, wall and floor waterproofing must be planned together. The floor slope, drain connection, and membrane upturn at the perimeter are part of the same water-management system. This is a situation where experienced technical installation is strongly recommended.
Allow curing time and test before tile installation
Do not tile immediately because the membrane feels dry to the touch. Every product has a defined curing period, and that period can change with temperature, humidity, and ventilation. Installing tile too early can affect adhesion or damage the membrane during troweling.
Before covering the work, inspect the entire surface under good lighting. Look for pinholes, thin patches, incomplete tape coverage, open corners, and missed areas behind plumbing fittings. Where practical, a controlled water test should be completed before tile installation. Shower pans are typically flood-tested; wall testing may involve controlled spray testing, depending on the system and project conditions. Any failure is far easier to correct before finishes are installed.
Finish the wall without compromising the system
Use a tile adhesive suitable for the membrane and the selected tile. Apply tile with correct coverage, particularly on large-format tiles and shower walls, where voids behind tile can collect water and weaken the installation. Keep movement joints at changes of plane, such as wall corners and wall-to-floor transitions. These joints should be filled with a flexible sanitary sealant, not rigid grout.
Grout should be applied after the adhesive has cured. A quality grout and regular sealant maintenance help preserve the finished surface, but they do not replace the waterproof layer below. Inspect silicone joints periodically, especially around tubs, shower doors, niches, and plumbing trim. Replace cracked, detached, or mold-stained sealant before water reaches the concealed assembly.
When professional waterproofing is the better choice
Small repairs outside the shower area can be manageable for a capable property owner. Full shower waterproofing, however, has little margin for error. Complex layouts, leaking existing bathrooms, multi-unit properties, commercial washrooms, wet rooms, and bathrooms above occupied spaces deserve professional assessment and installation.
A qualified contractor can identify whether the problem is limited to finishes or involves plumbing, drainage, substrate damage, or adjacent areas. For clients managing several maintenance requirements, Zillion Technical Services LLC can coordinate waterproofing with tile repairs, sanitary works, painting, and broader renovation needs through one technical team.
The best time to protect a bathroom wall is when the surface is open and every corner is visible. Treat waterproofing as concealed construction, not cosmetic work, and the finished bathroom will have the durable foundation it needs for years of daily use.
