







A new air-conditioning unit cannot deliver consistent comfort through poorly designed ductwork. This HVAC duct installation guide explains the work that determines whether conditioned air reaches each room at the right volume, temperature, and pressure. For property owners and facility managers, proper installation protects energy performance, indoor air quality, equipment life, and occupant comfort.
Duct installation is not simply a matter of connecting metal runs between an AC unit and supply vents. Every section of the system affects the next: equipment capacity, duct size, routing, insulation, supports, sealing, return-air paths, and final balancing must work together. A small mistake in any one area can lead to hot rooms, excessive noise, dust infiltration, condensation, and higher operating costs.
Start With the Building and Load Requirements
The correct duct system begins with an accurate assessment of the property. Room size alone is not enough to determine airflow requirements. A technician should consider ceiling height, glazing, solar exposure, insulation levels, occupancy, heat-generating equipment, room use, and the local climate. In a hot region such as the UAE, solar gain and outdoor humidity place particularly high demands on cooling systems and duct insulation.
The AC equipment must be selected or confirmed before finalizing duct dimensions. Oversized equipment may cycle too quickly and struggle with humidity control, while undersized equipment may run continuously without reaching the desired temperature. Ductwork that is too small creates high static pressure and restricts airflow. Ductwork that is too large can reduce air velocity and make balancing more difficult.
For commercial spaces, the design should also account for operating hours and changing occupancy. A meeting room, retail area, kitchen, server room, and private office may require very different airflow volumes even when they have similar floor areas. Zoning can be a practical solution where areas need separate temperature control or operate on different schedules.
HVAC Duct Installation Guide: Choose the Right Materials
Galvanized sheet-metal ducts are widely used because they are durable, fire-resistant, and suitable for concealed ceiling spaces, risers, and larger commercial installations. They can be fabricated to precise sizes and shapes, but the quality of joints, reinforcement, and insulation determines their long-term performance.
Flexible ducts can be useful for short final connections between main ducts and diffusers, especially where access is limited. They should not be stretched across long distances or bent sharply around obstacles. Excessive length, sagging, and tight bends increase resistance and reduce the airflow reaching the room.
Pre-insulated duct panels may be appropriate for certain projects because they combine the air path and thermal insulation in one system. The right choice depends on the building type, ceiling clearance, fire requirements, maintenance access, and budget. Material selection should never be made on first cost alone. A lower-cost duct system that leaks or absorbs moisture can create expensive repair work later.
Plan the Duct Route Before Installation
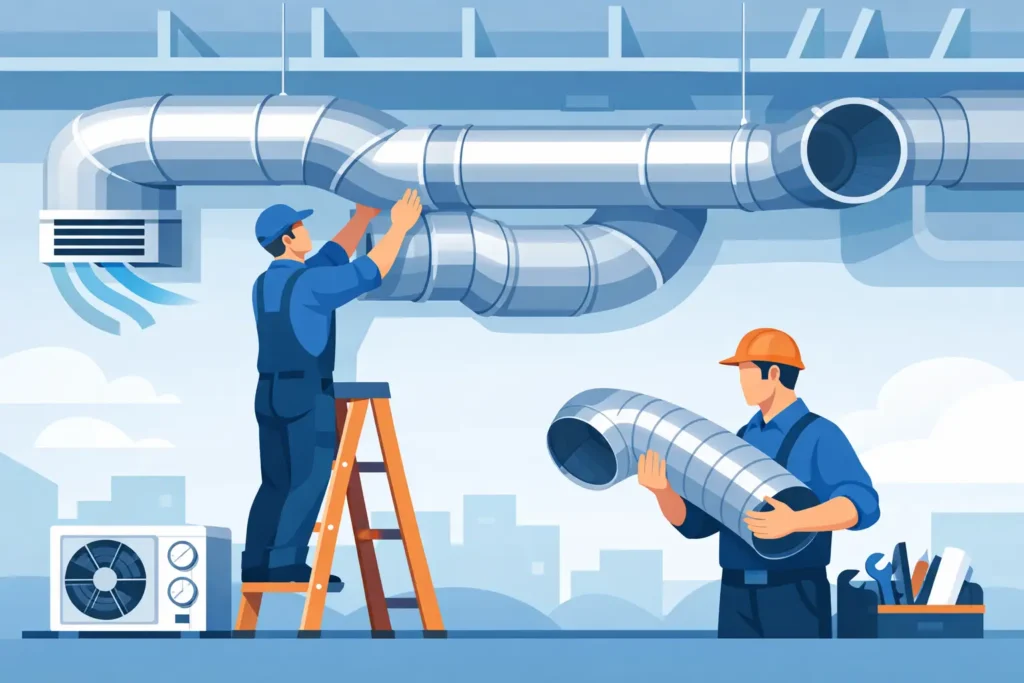
A clean route keeps air moving efficiently and makes the system easier to service. Main supply ducts should follow the most direct practical path from the air-handling unit, with branches positioned to serve each zone without unnecessary turns. Every elbow, reducer, transition, and long flexible connection adds resistance to the system.
Coordination is essential in buildings where ducts share ceiling space with electrical conduits, plumbing, fire protection lines, lighting, and structural elements. Ducts should not be crushed, forced through narrow gaps, or installed where future maintenance is impossible. Access doors should be provided for dampers, filters, coils, and other serviceable components.
Return-air ducting deserves the same attention as supply air. A restricted or poorly located return can create pressure imbalances, cause doors to slam or become difficult to close, and limit the AC unit’s ability to circulate air. Each conditioned area needs a reliable path for air to return to the system, whether through dedicated return grilles, transfer grilles, or appropriately designed door undercuts where permitted.
Keep Bends, Joints, and Transitions Under Control
Good duct routing favors gradual transitions and properly formed elbows. Sharp 90-degree turns create turbulence, while abrupt changes in duct size can increase noise and pressure loss. Where a turn is unavoidable, technicians may use turning vanes or a radius elbow to guide airflow more smoothly.
Joints must be properly aligned and mechanically secured. Loose connections can rattle, leak, and gradually separate under vibration. In larger duct runs, reinforcement is also necessary to prevent panels from flexing when the system operates. That flexing can produce the familiar booming or popping sound often blamed on the AC unit itself.
Seal Every Connection and Insulate the System
Duct leakage is one of the most common causes of wasted cooling. Conditioned air can escape through unsealed joints before it reaches occupied spaces, while unfiltered air may be drawn into return ducts through gaps. This increases energy use, introduces dust, and makes it harder to maintain stable indoor conditions.
Mechanical fasteners alone do not provide an airtight seal. Appropriate duct sealant and approved tape should be applied to joints, seams, branch connections, takeoffs, and equipment connections. Ordinary household tape is not suitable for HVAC ductwork. The seal must remain stable under temperature changes, vibration, and long operating hours.
Insulation is equally critical, especially where ducts pass through unconditioned ceilings, roof spaces, shafts, or service corridors. Proper insulation reduces heat gain and helps prevent condensation on duct surfaces. Moisture around ducts can damage ceiling finishes, encourage mold growth, and corrode metal components.
Insulation must be continuous, tightly fitted, and protected by an intact vapor barrier where required. Gaps around joints, damaged outer cladding, or exposed insulation edges can allow humid air to reach cold duct surfaces. The result may be sweating ducts even when the AC system is otherwise working correctly.
Support Ducts Without Restricting Airflow
Ducts need adequate supports at the correct intervals to prevent sagging, vibration, and stress on joints. Hangers and brackets should be sized for the duct weight and installed so they do not deform the duct. Flexible ducts need special care because they can sag between supports and create low points that restrict airflow.
Avoid using supports that compress insulation or puncture the vapor barrier unnecessarily. Metal ducts should also be separated from surfaces where vibration could transfer noise into walls or ceilings. In occupied offices, residences, hotels, and retail spaces, these details make a noticeable difference in acoustic comfort.
Install Diffusers, Grilles, and Dampers for Balanced Comfort
Supply diffusers and return grilles are not decorative finishing items. Their size, location, and throw pattern influence how air is distributed through a room. A diffuser placed too close to a return grille may allow air to short-cycle back to the system without properly cooling the occupied area. One aimed directly at desks, beds, or seating can create uncomfortable drafts.
Balancing dampers should be installed at appropriate branch locations so technicians can adjust airflow after commissioning. Without dampers, it can be difficult to correct a room that receives too much or too little air. Fire dampers, smoke dampers, and volume-control dampers may also be required depending on the building design and applicable code requirements.
Test the Ductwork Before Closing the Ceiling
The installation is not complete when the ducts are in place. Before ceiling access is closed, the system should be inspected for damaged insulation, disconnected joints, blocked ducts, missing access points, and incorrect diffuser locations. This is the stage when corrections are least disruptive and least expensive.
After the AC system is running, technicians should check airflow at supply outlets, return-air performance, static pressure, temperature difference, noise levels, and drainage around related equipment. Air balancing adjusts dampers so each room receives the intended airflow. A system can look professionally installed and still perform poorly if this final step is skipped.
For existing properties, warning signs of duct problems include uneven cooling, persistent dust, whistling or banging noises, musty odors, unusually high utility bills, and condensation around ceiling vents. These symptoms do not always mean the entire duct system needs replacement. Sometimes the answer is targeted sealing, insulation repair, rerouting a restricted branch, or balancing the airflow.
A dependable duct system is built for more than the first day of operation. It should remain accessible, sealed, insulated, and serviceable throughout the life of the AC equipment. Working with qualified HVAC technicians helps ensure that each installation supports reliable cooling now and practical maintenance when the property needs it most.

Pingback: Air Curtain Installation Service for UAE Entrances - zillion